Floor Tiling (Internal)
Installation of ceramic, porcelain, or stone tiles on internal floors including substrate preparation, waterproofing (wet areas), adhesive application, tile laying, cutting, grouting, and sealing. Designed to support compliance with AS 3958:2023 ceramic and stone tile installation and AS 3740:2021 waterproofing of domestic wet areas. Pre-filled hazards, controls, and risk ratings.
Floor tiling is a kneeling trade, and the trade's claims data is dominated by what kneeling for hours on a hard substrate does to backs, knees and shoulders. The Model Code of Practice on Hazardous Manual Tasks drives the substitution stack: knee boards or alkali-resistant pads (not foam) for the kneeling, mechanical lift assists for large-format porcelain sheets above 20 kilos, and rotation between cutting and laying through the day. A tiler who treats this work as a young-person trade ages out of it at 45; the operators still on the tools at 60 are the ones who set up the workspace before the first sheet goes down.
Porcelain cutting puts silica in front of the operator. Respirable crystalline silica sits at the 0.05 mg/m³ workplace exposure standard over an eight-hour day, and porcelain pavers run 30 to 50 percent silica content. Wet cutting with continuous water feed, an M-class HEPA vacuum for cleanup, and a P2 respirator on every operator within the dust cloud are the controls that hold; dry cutting tracks back as the failure mode that puts the trade in front of the silicosis cluster the 1 July 2024 engineered stone ban was responding to. Engineered-stone offcuts being trimmed on tilers' sites is still triggering cases — even though the slabs themselves are banned.
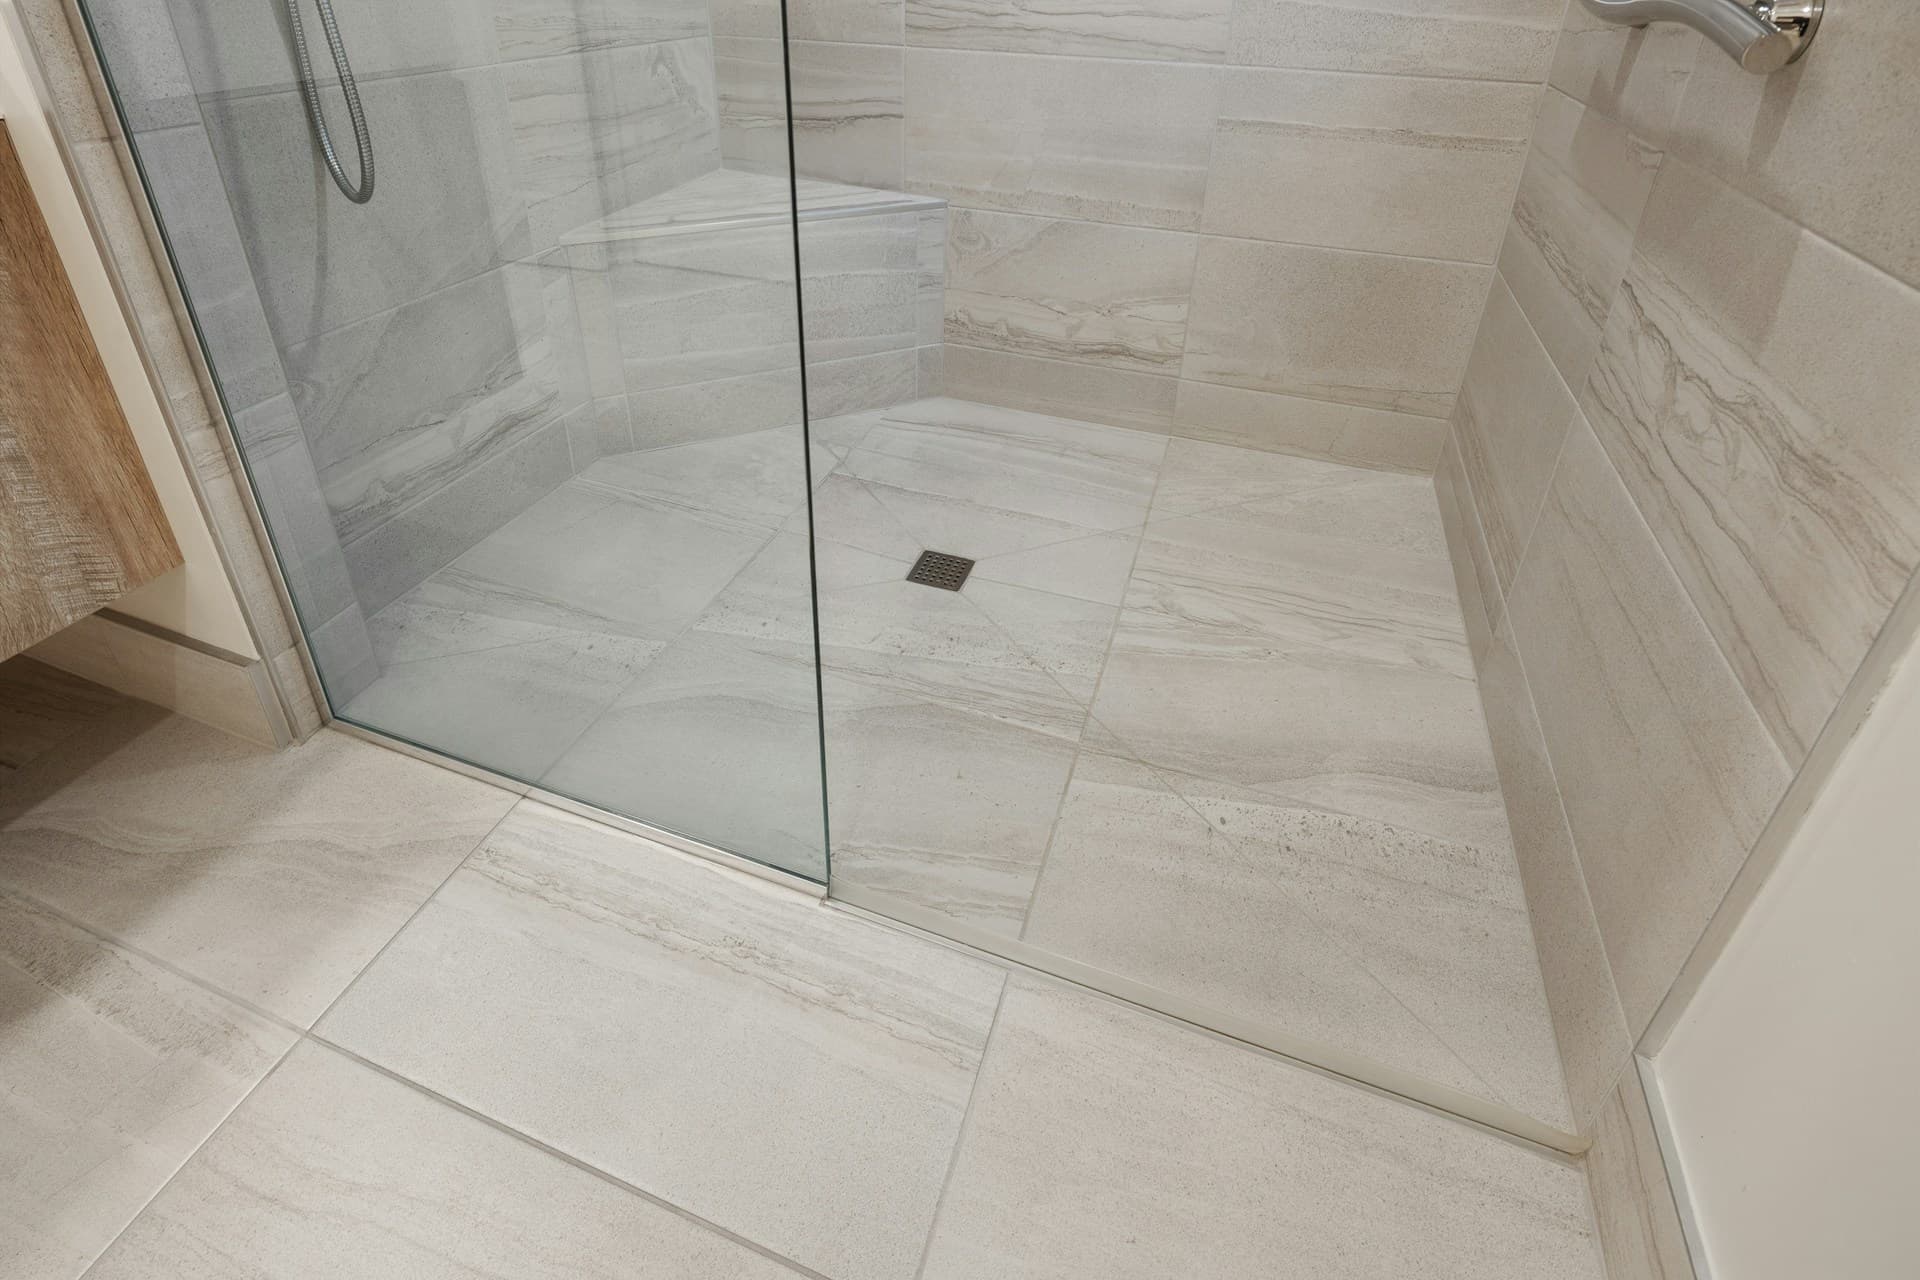
Wet-area floors require waterproofing complete and certified to AS 3740:2021 before tiling commences; the tiler doesn't lay over an unsigned membrane. Cement-based adhesives at pH 12-13 burn skin during prolonged contact, epoxy grouts sensitise, and the slip resistance class on the finished surface under AS 4586 needs to match the wet-area duty. AS 3958.1-2007 is the installation guide. White Card, wall and floor tiling competency, silica awareness training and a current first aid round out the qualifications. The tiler who closes the day with a clean ventilation run and a clean cut log doesn't bring the dose home.
What's In Your SWMS
8 Hazards & Controls
Silicosis (irreversible lung disease), lung cancer, chronic obstructive pulmonary disease (COPD), death
Minimise on-site cutting - order pre-cut tiles or plan layout to reduce cuts
Use manual tile cutter (score and snap) for straight cuts where possible - minimal dust
Set up cutting station outdoors or in well-ventilated area away from other workers
- Use wet tile saw with continuous water suppression as the primary control for all power cutting
- Apply "controlled processing" per the Crystalline Silica Substances Regulation (in force 1 Sept 2024) — any of: wet suppression, on-tool extraction (M/H-class), local exhaust ventilation, isolation, or enclosed cabin with HEPA
- Uncontrolled dry cutting of silica-containing tiles is non-compliant — dry cutting is only permitted with on-tool dust extraction meeting controlled-processing requirements
- Position cutting station downwind from workers if outdoors
- Train all workers on silica dust hazards and control measures
- Limit cutting duration - rotate tasks to reduce individual exposure
- No eating, drinking, or smoking in work area
- Clean up dust with wet methods or H-class vacuum - never dry sweep
- Health monitoring for workers with regular silica exposure
P2 respirator minimum when cutting (P3 for extended work), safety glasses
22-Step Work Procedure
Equipment & PPE
Equipment (14)
- Wet tile saw (tile cutter)
Water-cooled diamond blade for cutting tiles. Primary method for silica dust control.
- Angle grinder with diamond blade
For curved cuts and notches. Must use water suppression or dust extraction.
- Manual tile cutter (score and snap)
For straight cuts on ceramic tiles. Low dust generation.
- Notched trowel (various sizes)
6mm, 10mm, 12mm notches depending on tile size and adhesive requirements.
- Grout float (rubber)
For applying and spreading grout into joints.
- Spirit level (1200mm+)
For checking tile level and substrate flatness.
- Tile spacers (various sizes)
1.5mm, 2mm, 3mm spacers for consistent grout joints.
- Mixing drill with paddle attachment
For mixing adhesive and grout to correct consistency.
- Buckets (mixing and cleaning)
Separate buckets for adhesive mixing, grout mixing, and clean water.
- Tile sponges
For cleaning excess grout and final tile cleaning.
- Rubber mallet
For bedding tiles into adhesive without damage.
- Tape measure
For measuring layout and cut sizes.
- Knee boards / kneeling mat
Cushioned support for extended kneeling work.
- First aid kit
Include wound dressings, eye wash, burn gel for chemical contact.
PPE (8)
- Safety glassesAS/NZS 1337.1:2010
Essential - flying tile chips during cutting, adhesive/grout splashes.
- P2 respirator (half-face minimum)AS/NZS 1716:2012
Mandatory when cutting tiles - silica dust exposure. Consider P3 for extended cutting.
- Hearing protectionAS/NZS 1270:2002
Required when using wet saw or angle grinder.
- Chemical-resistant gloves (nitrile)AS/NZS 2161.10.1:2024 (chemical/microorganism risks); AS/NZS 2161.1:2016 (general requirements)
For mixing and handling adhesive, grout, and sealers. Prevents skin irritation.
- Cut-resistant glovesAS/NZS 2161.3:2020
For handling cut tiles with sharp edges.
- Safety boots (steel cap)AS 2210.3:2019
Protection from dropped tiles and sharp edges.
- Knee pads
Essential for extended kneeling work. Prevents knee injuries and long-term damage.
- Long pants (work trousers)
Protects knees and skin from chemical contact and sharp edges.
Training & Emergency
Competency Requirements
- Construction Induction Card (White Card)training
Required for all workers on construction sites. CPCCWHS1001 - Prepare to work safely in the construction industry.
- Wall and Floor Tiling Competencycertificate
Certificate III in Wall and Floor Tiling (CPC31320 — supersedes CPC31311) or demonstrated equivalent experience
- Silica Dust Awareness Trainingtraining
Training on silica dust hazards, control measures, and correct use of wet cutting equipment and PPE
- Waterproofing Competency (if applicable)
Required if applying waterproofing membranes in wet areas. Certificate or equivalent training.
- First Aid Certificate
Recommended for at least one team member on site
Emergency Procedures
SILICA DUST OVER-EXPOSURE: If worker experiences breathing difficulty, coughing, or chest tightness during or after cutting, move to fresh air immediately. Seek medical attention. Record exposure details.
CHEMICAL SPLASH IN EYES: Irrigate immediately with eye wash or clean water for minimum 20 minutes. Do not rub. Seek medical attention. Bring SDS for product.
CEMENT BURN: Wash affected area with clean water for at least 20 minutes. Remove contaminated clothing. Do not apply creams. Seek medical attention for any burn larger than coin size.
DEEP LACERATION FROM TILE: Apply direct pressure with clean dressing. Elevate limb. Call 000 for deep cuts or severed tendons. Do not remove embedded tile fragments.
ELECTRIC SHOCK: Do not touch person if still in contact with power source. Switch off power at source. Call 000. Begin CPR if not breathing.
Everything above, included in your SWMS document.
Get This TemplateWriting a SWMS from scratch?
That's 2-4 hours of research, formatting, and cross-referencing regulations.
We've done the starting work — pick your template, add your details, review.
Or just do this:
- Unlimited documents
- All 70+ templates
- Instant PDF & DOCX
- Cancel anytime
High-Risk Construction Work Categories
Under Australian WHS Regulations (Part 7.1 - Managing risks of hazardous chemicals; Schedule 14 - Prohibited carcinogens, restricted carcinogens and restricted hazardous chemicals), this work is classified as high-risk due to:
- Work involving hazardous chemicals (Tile adhesives, grout, and sealers contain hazardous chemicals. Silica dust from tile cutting is a significant respiratory hazard.)
Australian Standards Referenced
Who Needs This SWMS?
This template is designed for the following trades and roles performing floor tiling (internal) work.
Frequently Asked Questions
Do I need a SWMS for floor tiling work?
While floor tiling is not automatically high-risk construction work under WHS Regulations, a SWMS is strongly recommended due to silica dust exposure from tile cutting. Many principal contractors require SWMS for all construction activities. If using power tools to cut tiles containing crystalline silica, dust control measures are mandatory.
Can I dry cut tiles on a construction site?
No. Uncontrolled dry cutting of silica-containing materials (including ceramic and porcelain tiles) is non-compliant under WHS legislation. You must use wet cutting with water suppression, or controlled dry cutting with on-tool dust extraction and appropriate RPE. Dry cutting generates silica dust levels far exceeding the workplace exposure standard.
What is the workplace exposure standard for silica dust?
The workplace exposure standard (WES) for respirable crystalline silica is 0.05 mg/m³ as an 8-hour time-weighted average (TWA). WorkSafe Victoria recommends a precautionary limit of 0.02 mg/m³. Dry cutting tiles can generate dust levels many times higher than these limits.
What PPE is required when cutting tiles?
When cutting tiles with power tools (wet saw or angle grinder), you must wear: P2 respirator minimum (P3 for extended work), safety glasses, hearing protection, and cut-resistant gloves when handling cut tiles. Even with wet cutting, some silica dust is generated and respiratory protection is required.
Do I need waterproofing under floor tiles?
Waterproofing is required in wet areas as defined by AS 3740. This includes bathrooms, showers, laundries, and other areas subject to water accumulation. Waterproofing must be applied by a licensed applicator in some states and must be tested before tiling.
How long before I can grout after laying tiles?
Typically 24 hours minimum, but check adhesive manufacturer specifications. Adhesive must be fully cured before grouting. Premature grouting can cause tiles to lift or adhesive to fail. Larger tiles and cooler conditions may require longer cure times.
What is the correct adhesive notch size for floor tiles?
Notch size depends on tile size and substrate flatness. General guide: up to 300x300mm tiles use 6mm notch; 300-600mm tiles use 10mm notch; over 600mm tiles use 12mm notch or back-butter tiles as well. Always achieve minimum 80% adhesive coverage (95% in wet areas).
Can I tile over existing floor tiles?
Yes, if existing tiles are firmly bonded, level, and in good condition. The existing surface must be cleaned and primed or abraded for adhesion. Check floor height will not cause issues with door clearances or transitions. Use a suitable flexible adhesive designed for tile-on-tile application.
Get Your Floor Tiling (Internal) SWMS
Pre-filled. Risk-rated. Ready in 5 minutes.
Get Your SWMS PDFNo credit card required. First SWMS is free.