Plasterboard Installation
Installation of plasterboard (gyprock/drywall) to internal walls and ceilings including sheet handling, cutting, fixing, cornice installation, and joint stopping/sanding. Covers work from scaffolds, trestles, and plasterer stilts. Addresses manual handling of heavy sheets, overhead work, dust exposure, and working at heights. Pre-filled hazards, controls, and risk ratings.
A plasterer's claims data is dominated by one mechanism: 30-to-50-kilo sheets lifted overhead onto a ceiling for eight hours a day. Shoulder impingement, lumbar strain and chronic neck issues all track back to that posture, and the Model Code of Practice on Hazardous Manual Tasks is what drives the substitution decision — plasterboard hoists for ceiling sheets, drywall lifters for awkward corners, and a clear no-solo-overhead rule for sheets above the operator's reach. The hoist is the primary control; muscling sheets up with two blokes is the fallback the industry has learned to plan around.
Plasterer stilts are the second risk line. Stilts at 600 to 800 millimetres are still legal in Australia, but commercial sites increasingly ban them in favour of trestles or mobile scaffold to AS/NZS 1576.1:2019; a rapid weight-transfer on stilts puts the operator on the floor with a wrist or hip injury that's still in the claim register two years later. Sheet-cutting injuries from utility knives — lacerations to the thigh and non-dominant hand — are the highest-frequency cut on a plastering crew, with a sharp blade and a slip-stop mat the working pair.
Joint-compound sanding generates a respirable dust column most operators underestimate because gypsum "feels harmless". Long-term exposure tracks to occupational asthma, and a sander with on-tool HEPA dust extraction plus a P2 respirator is the working spec. AS/NZS 2588:1998 covers the plasterboard product itself; AS/NZS 2589:2017 covers gypsum lining application. White Card, plastering trade competency, working at heights for upper-storey ceiling sheeting and current first aid make up the operator side. Hoist first, knife sharp, sander extracted — three small disciplines that keep the trade out of injury data.
What's In Your SWMS
8 Hazards & Controls
Back strain, muscle tears, herniated discs, shoulder injuries, crush injuries from dropped sheets
Have sheets delivered directly to work area by crane/telehandler before building enclosed
Use smaller sheet sizes where practicable (1800mm or 2100mm lengths)
Clear pathways and work areas before moving sheets
- Use panel lift/ceiling hoist for all ceiling installation
- Use plasterboard trolley for transporting sheets around site
- Use sheet lifter handles for manual carrying
- Use adjustable props to support sheets during fixing
- Two-person lift mandatory for all full-size sheets
- Plan delivery to minimise double-handling
- Store sheets flat on level surface close to installation area
- Take regular breaks during sheet handling
- Unload sheets one at a time from stacks
- Do not carry more than one sheet at a time
Work gloves for grip, safety boots, long pants to prevent paper cuts
24-Step Work Procedure
Equipment & PPE
Equipment (17)
- Panel lift / ceiling hoist
For lifting and positioning ceiling sheets. Eliminates manual overhead lifting.
- Screw gun (collated or magazine-fed)
For fixing plasterboard to framing. Use depth-setting nose piece.
- Cordless drill/driver
For general fixing and pilot holes.
- Utility knife (retractable blade)
For scoring and cutting plasterboard sheets. Use retractable blade type.
- Plasterboard saw / jab saw
For cutting holes and openings in sheets.
- Rasp / surform tool
For trimming and shaping plasterboard edges.
- T-square / straight edge (1200mm+)
For marking and guiding cuts on plasterboard sheets.
- Tape measure
For measuring sheet sizes and cutouts.
- Spirit level (1200mm+)
For checking plumb and level of sheets.
- Trestles and planks
For low-level access. Must be industrial rated, planks secured against movement.
- Mobile scaffold / scaffolding
For access to ceilings and high walls. Must be erected by competent/licensed person if over 4m.
- Plasterboard trolley
For transporting sheets around site. Reduces manual carrying.
- Sheet lifter / panel carrier handles
Manual handling aid for carrying sheets. Improves grip and reduces strain.
- Stopping knives and trowels (various widths)
For applying joint compound. 75mm, 150mm, 300mm widths typical.
- Sanding pole with vacuum attachment
For sanding joints. Dust extraction attachment reduces airborne dust.
- Dust extractor (H-class)
For dust control during cutting and sanding. H-class filter for fine dust.
- First aid kit
Include wound dressings, eye wash, and bandages for cuts.
PPE (7)
- Safety glassesAS/NZS 1337.1:2010
Essential - dust, debris from cutting and overhead work.
- Dust mask (P2)AS/NZS 1716:2012
Required when cutting, sanding, or in dusty conditions. P2 minimum.
- Hearing protectionAS/NZS 1270:2002
Required when using power tools (screw guns, saws).
- Work glovesAS/NZS 2161.1:2016 (general); AS/NZS 2161.3:2020 (mechanical risks)
For handling sheets. Protects against paper cuts and rough edges.
- Safety boots (steel cap)AS 2210.3:2019
Protection from dropped sheets and tools. Steel cap essential.
- Safety helmet (hard hat)AS/NZS 1801:2024
Required on construction sites and when overhead hazards present.
- Long pants (work trousers)
Protects legs from paper cuts when carrying sheets.
Training & Emergency
Competency Requirements
- Construction Induction Card (White Card)training
Required for all workers on construction sites. CPCCWHS1001 - Prepare to work safely in the construction industry.
- Plasterboard Installation Competencycertificate
Certificate III in Wall and Ceiling Lining (CPC31220 — supersedes CPC31211) or demonstrated equivalent experience
- Manual Handling Trainingtraining
Training in safe manual handling techniques and use of mechanical aids
- Working at Heights Training
Required if working from scaffolds over 2m or using EWPs
- Scaffolding Licence (if erecting scaffold)
Basic Scaffolding licence required to erect scaffold over 4m. Using pre-erected scaffold does not require licence.
- First Aid Certificate
Recommended for at least one team member on site
Emergency Procedures
FALL FROM SCAFFOLD/STILTS: Call 000 immediately. Do not move person if spinal injury possible. Keep person warm and calm. Clear area for emergency access.
SEVERE LACERATION FROM KNIFE: Apply direct pressure with clean dressing. Elevate limb. Call 000 for deep cuts or severed tendons. Do not remove embedded blade if present.
SHEET FALLEN ON PERSON: Call for assistance. Carefully remove sheet if safe. Assess injuries. Call 000 for serious injuries. Do not move person if spinal injury suspected.
ELECTRIC SHOCK: Do not touch person if still in contact with power source. Isolate power at switchboard. Call 000. Begin CPR if not breathing.
DUST INHALATION (Difficulty breathing): Move to fresh air. If breathing difficulty persists, call 000. Provide details of dust exposure to medical responders.
Everything above, included in your SWMS document.
Get This TemplateWriting a SWMS from scratch?
That's 2-4 hours of research, formatting, and cross-referencing regulations.
We've done the starting work — pick your template, add your details, review.
Or just do this:
- Unlimited documents
- All 70+ templates
- Instant PDF & DOCX
- Cancel anytime
High-Risk Construction Work Categories
Under Australian WHS Regulations (Part 4.2 - Hazardous Manual Tasks; Part 6.3 - Construction Work), this work is classified as high-risk due to:
- Risk of a person falling more than 2 metres (Applies when working from scaffolds, EWPs, or stilts where fall height exceeds 2m. Common in ceiling installation and high walls.)
- Hazardous manual tasks (Plasterboard sheets (standard 2.4m x 1.2m) weigh 20-35kg. Overhead installation involves sustained awkward postures.)
Australian Standards Referenced
Who Needs This SWMS?
This template is designed for the following trades and roles performing plasterboard installation work.
Frequently Asked Questions
Do I need a SWMS for plasterboard installation?
Yes, if the work involves working at heights over 2m (from scaffolds, EWPs) it is classified as high-risk construction work and a SWMS is mandatory. Even for lower heights, a SWMS is strongly recommended due to manual handling risks and is often required by principal contractors.
Can one person install plasterboard sheets?
No. Two-person handling is mandatory for all full-size plasterboard sheets (2.4m x 1.2m or larger). For ceiling installation, a panel lift must be used to raise and support sheets. Single-person installation of full sheets creates unacceptable manual handling risks.
What are the rules for using plasterer stilts?
Stilts should not be used for more than 6 hours per day. Each work session on stilts should not exceed 2 hours, with at least 30 minutes break between sessions. Only light duty tasks are permitted - no lifting sheets, only cordless tools, no carrying heavy items. A rigid platform at stilt height must be used for mounting/dismounting.
Do I need a scaffolding licence to install plasterboard?
You do not need a scaffolding licence to use pre-erected scaffold. However, if you are erecting scaffold over 4m in height, you require a Basic Scaffolding licence. Mobile scaffolds under 4m can be erected without a licence but must be assembled by a competent person following manufacturer instructions.
What PPE is required for plasterboard installation?
Essential PPE includes safety boots (steel cap), safety glasses, P2 dust mask (when cutting/sanding), hearing protection (when using power tools), work gloves, and hard hat when others working above or near sheet stacks. Knee pads recommended for stopping work.
How should plasterboard sheets be stored on site?
Sheets must be stored flat on a level surface, not leaning against walls unsecured. Stack height should not exceed 1.2m. Store sheets close to installation area to minimise handling. Protect from moisture. Sheets stored vertically must be secured to prevent falling.
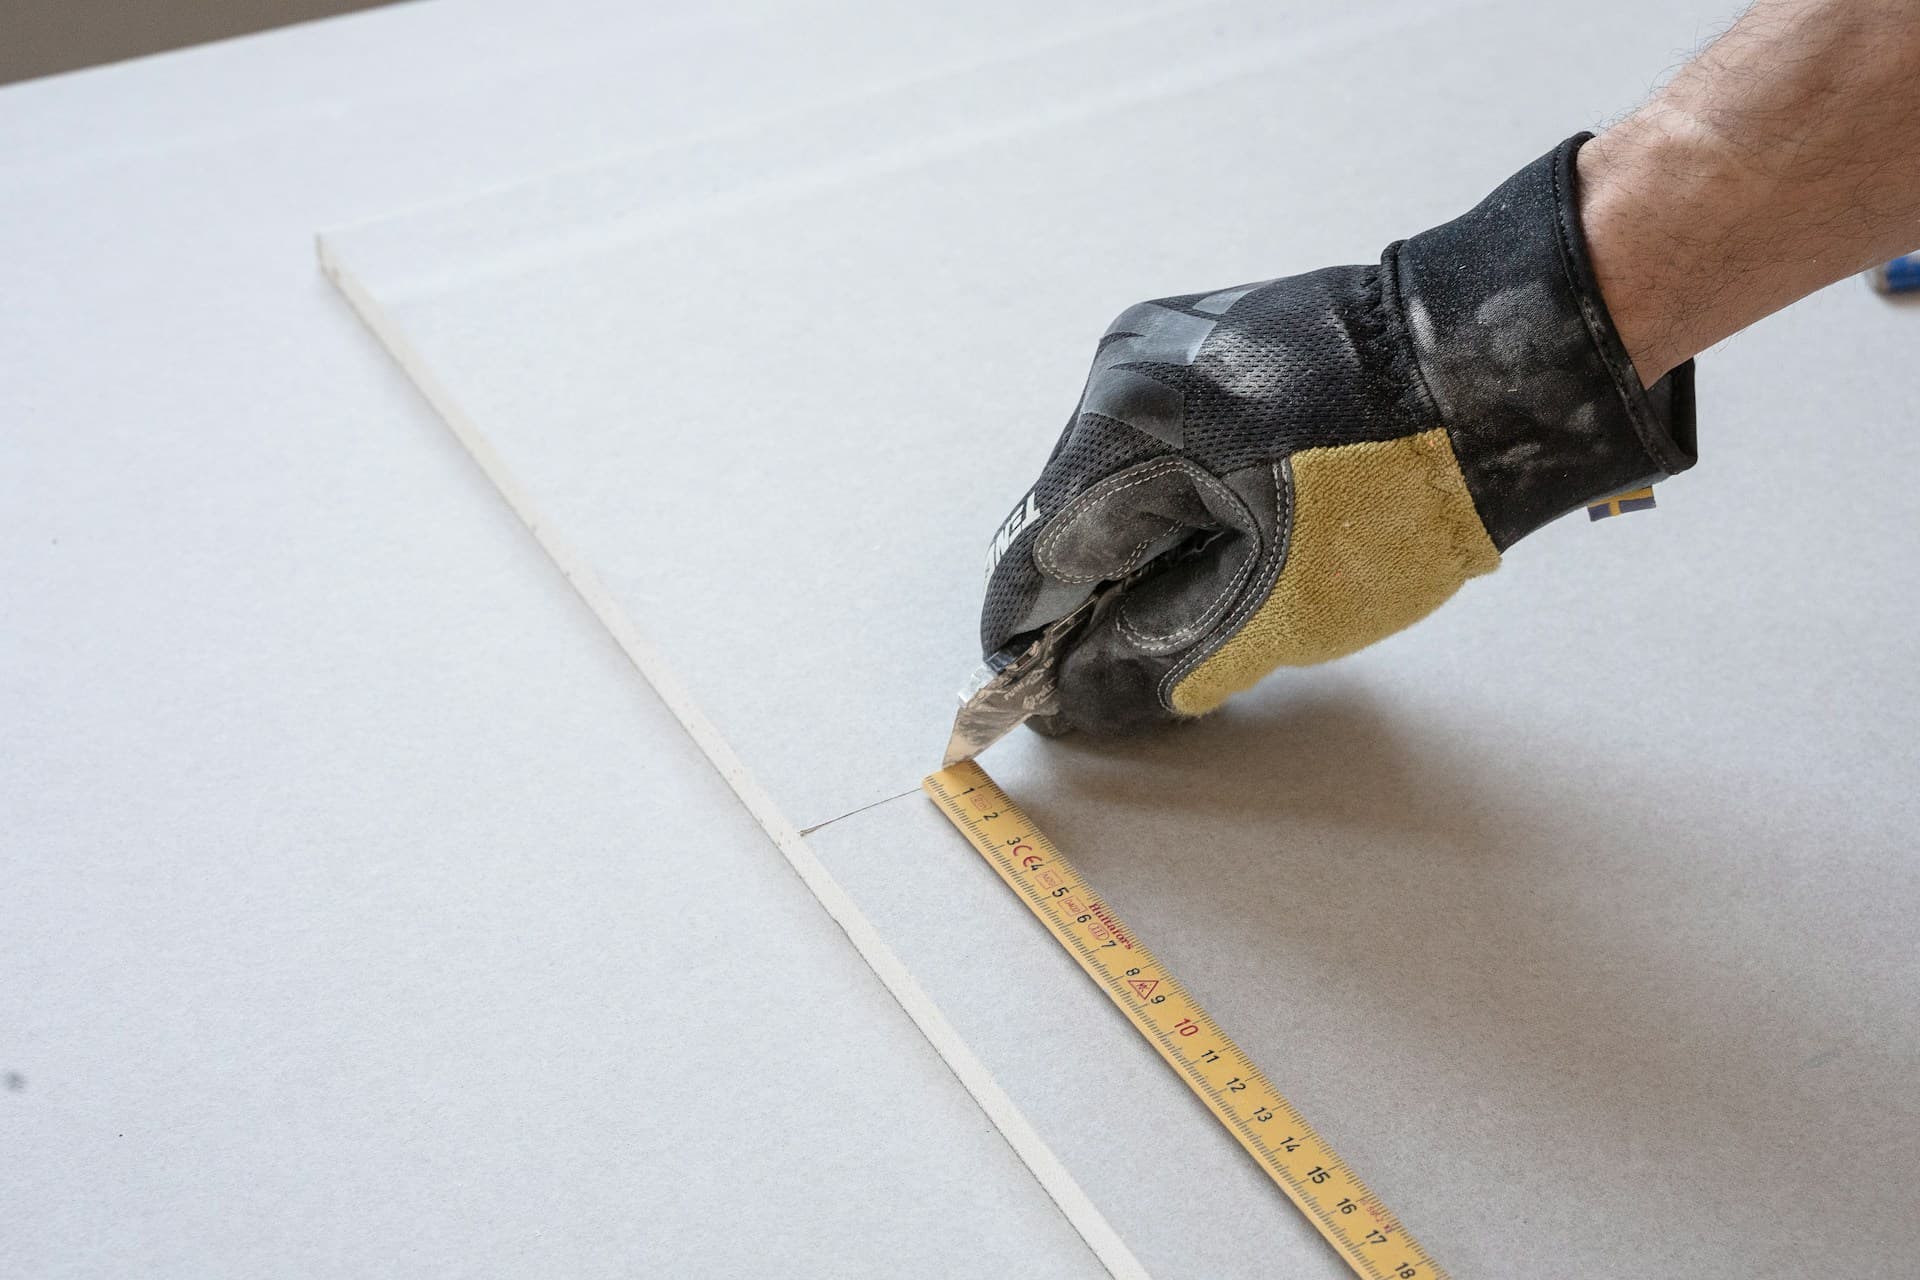
What is the correct way to cut plasterboard?
Score the face paper with a sharp utility knife using a straight edge guide, then snap the board away from the cut. Cut through the back paper. Always cut away from your body, keep hands clear of blade path, and retract blade immediately after each cut. Replace dull blades promptly.
How do I control dust when sanding plasterboard joints?
Use a sanding pole with vacuum attachment connected to an H-class dust extractor. Wear a P2 dust mask even when using extraction. Ensure adequate ventilation. Do not dry sweep dust - use vacuum or damp methods. Clean up dust before it accumulates on floors (slip hazard).
Get Your Plasterboard Installation SWMS
Pre-filled. Risk-rated. Ready in 5 minutes.
Get Your SWMS PDFNo credit card required. First SWMS is free.